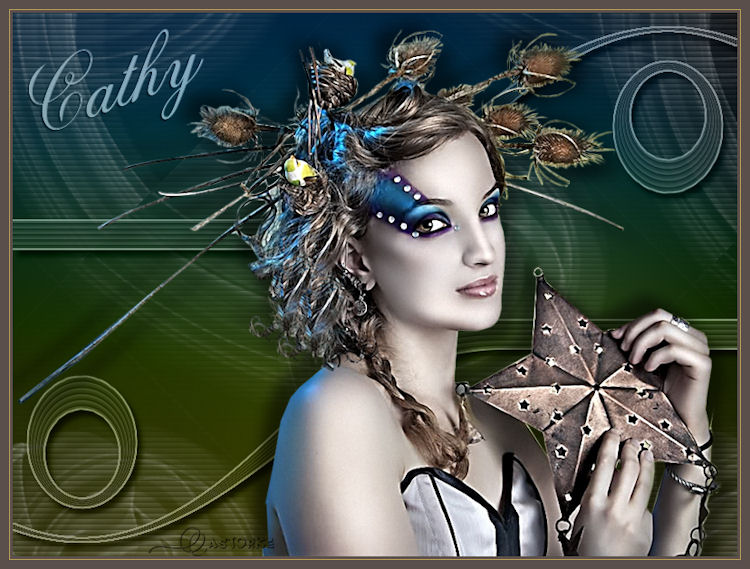
Div_lesson 44 Cathy
Translated by Marion into French, English, German
Thank you Marion
Click on the flag for translation.
Any resemblance with an existing lesson is a coincidence The tubes may only be used in this lesson. Take me with you, I'll
show you where you left off.
1. File-Open a New Transparent Image in this size : 800x 600 Px
2. Material Properties: Set your Foreground color to color #5b4f4b
Flood Fill Tool-Fill the layer with #5b4f4b
3. Layers- New Raster layer
4. -Flood Fill Tool-Fill the layer with #ffffff
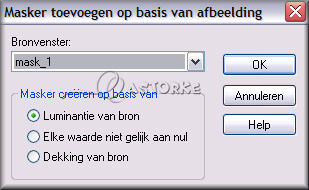
5. Open the mask - mask1 and minimize.
6. layers- New Maske Layer -From Image and select Mask
7. Layers -Merge- Merge Group
8. Effects-Plugins-Simple - Diamonds
9. Layers- Properties -Reduce the opacity of this layer to 50
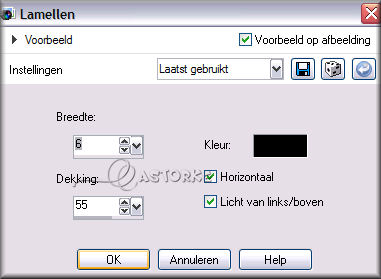
10. Effects- Texture Effects-Blinds use the settings below - color black
11. Close this layer for a moment. Click on the eye in the layer palette.
12. Activate thw bottom layer in the layer palette.
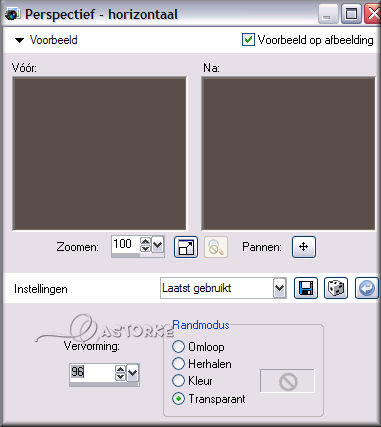
13. Effects-Geometric Effects-Perspective- Horizontal use the settings below
14. Image - Mirror - Mirror Horizontal (Image - Mirror in older versions of PSP)
15. Repeat: Effects-Geometric Effects-Perspective- Horizontal with the same settings
16. Effects-Texture Effects -Blinds - color black
with the same settings
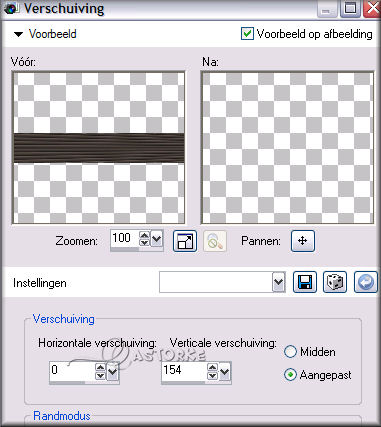
17. Effects-Image Effects- Offset use the settings below....
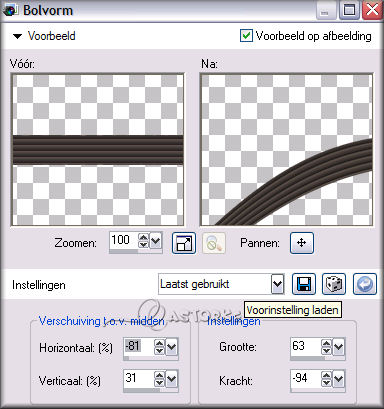
18. Effects-Distortion Effects-Warp use the settings below
19. Move to the bottom - (see finished image.)
20. Layers- Duplicate
21. Image - Mirror - Mirror Horizontal (Image - Mirror in older versions of PSP)
22. Image - Mirror - Mirror vertical ( Image - Flip in older versions of PSP)
23. Layers- Merge- Merge Down
24. Selections- Select All
25. Selections-Float
26. Selections-Defloat
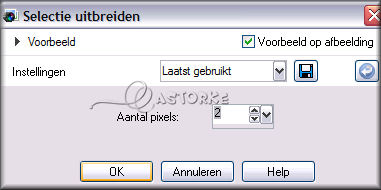
27. Selection- Modify-Expand with 2 px
28. Layers- New Raster Layer
29. Layers- Arrange- Move Down
30. Flood Fill Tool- Fill the selection with #b9a056
31. Selections- Deselect All
32. Layers- Merge- Merge Visible
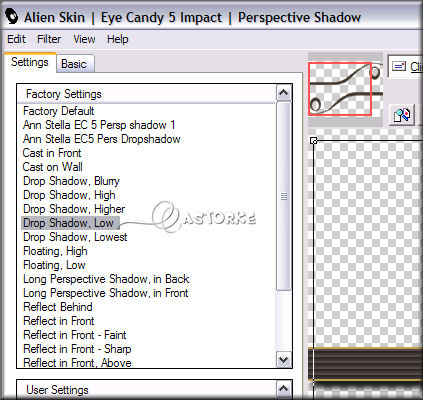
33. Effects- Plugins-Eye Candy5/ Impact - Perspective Shadow-Drop Shadow Low
34. Layers- Properties -Reduce the opacity of this layer to 83%
35. Layers- Arrange- Bring to Top
36. Layers-Properties-Set the Blend Mode to " Luminance ( legacy)"
37. Activate the bottom of the layer palette-Open this layer
38. Layers- New Raster Layer
39. Layers-Arrange-Sent to Bottom
40. Material Properties: Set your Foreground color to color #1a5380
41. Set your Background color to color#000000
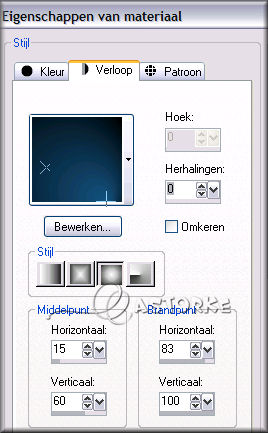
42. Replace your Foreground color with a Foreground/Background Sunburst Gradient configured like this
43. Flood Fill Tool - Fill the layer with the Gradient
44. Layers-Properties-Set the Blend Mode to " Luminance ( legacy)"
45. Layers- New Raster Layer
46. Layers-Arrange-Sent to Bottom
47. Material Properties: Set your Foreground color to color #1a5380
48. Set you Background color to color #adae3a
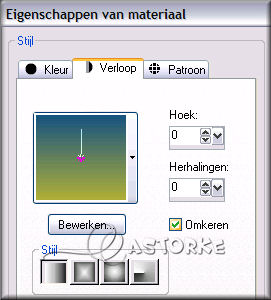
49. Replace your Foreground color with a Foreground/Background Linear Gradient configured like this
50. Flood Fill Tool - Fill the layer with the Gradient
51. Open the tube "athe-femme6 Nicky"
52. -Edit - Copy- Activate your work -Edit - Paste as new layer
53. Image- Rezise 83%
54. Resize all layers-not checked
55. Image - Mirror - Mirror Horizontal (Image - Mirror in older versions of PSP)
56. Effects- 3D- Effects- Drop Shadow with these settings: 15, 15, 50, 21 color black
57. Repeat- Effects- 3D- Effects- Drop Shadow with these settings:
-15, -15, 50, 21 color black
58. Open the tube "text_cas_les44"
59. -Edit - Copy- Activate your work -Edit - Paste as new layer
60. Layers-Properties-Set the Blend Mode to " Luminance ( legacy)"
61. Image - Add Borders-Symmetric checked: 3 Px -color #5b4f4b
62. Image - Add Borders-Symmetric checked: 1 Px -color #adae3e
63. Image - Add Borders-Symmetric checked: 10Px -color #5b4f4b
64. Add you watermark on new layer
65. Save as JPG
This lesson was tested by Bep - Thank you Bep Copying this lesson, in whole or in part, without the author's permission is
prohibited. ©Webdesign Diane
![]()
![]()
![]()
Thanks to the tubsters for the beautiful material
Respect their work, don't change anything about the tubes and don't say they are your tubes
Without them, this lesson would not be possible.
The copyright belongs to the original artist. Leave credit with the creator.
![]()
I hope you enjoyed this lesson
Please send it to me in original size.
Do include your name, the lesson number, and the title..
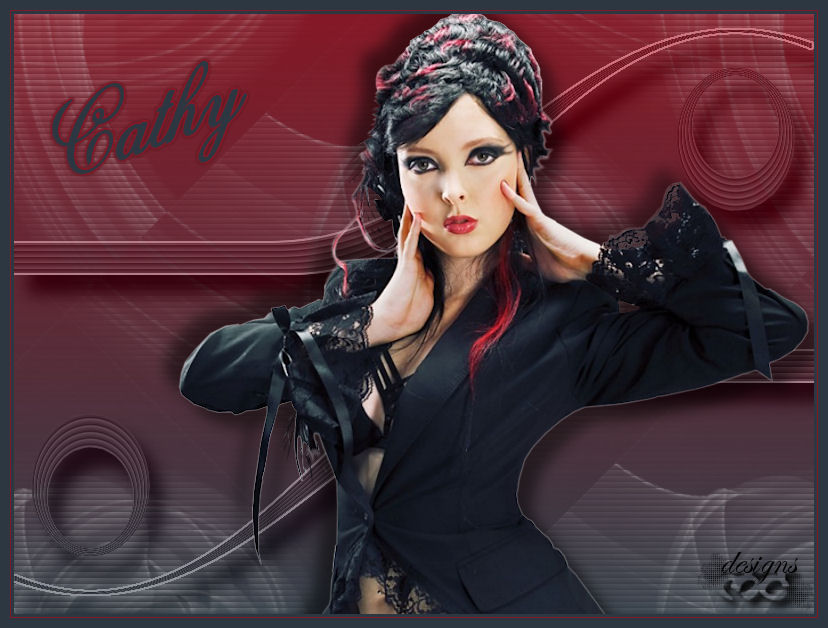
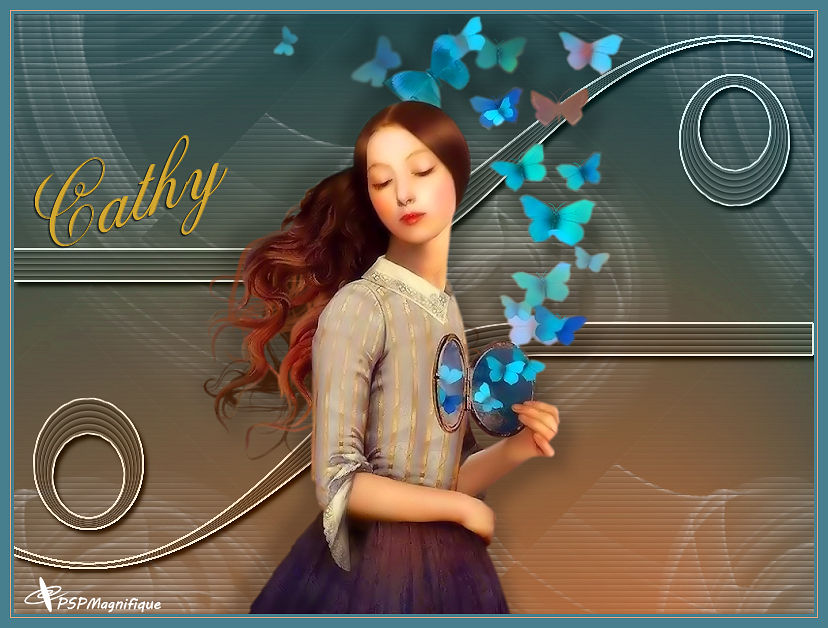
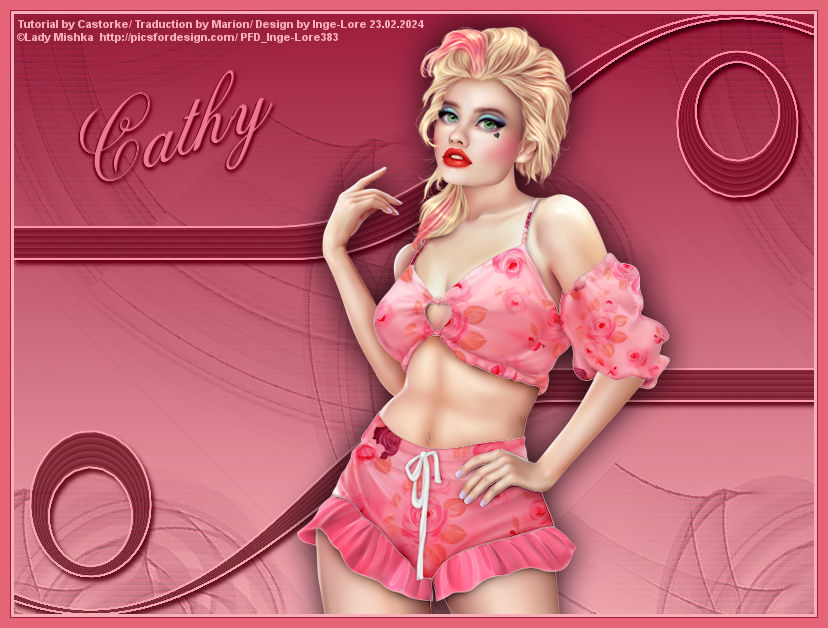
Example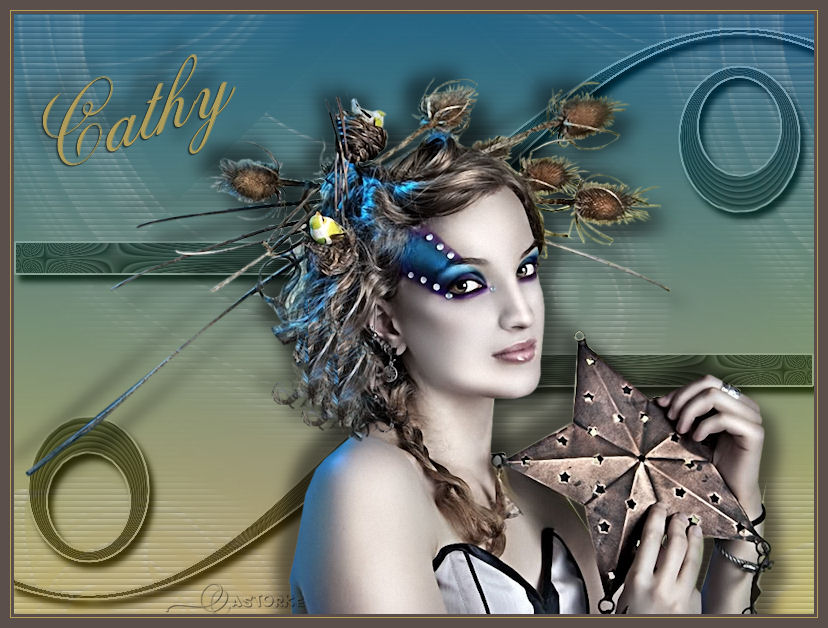

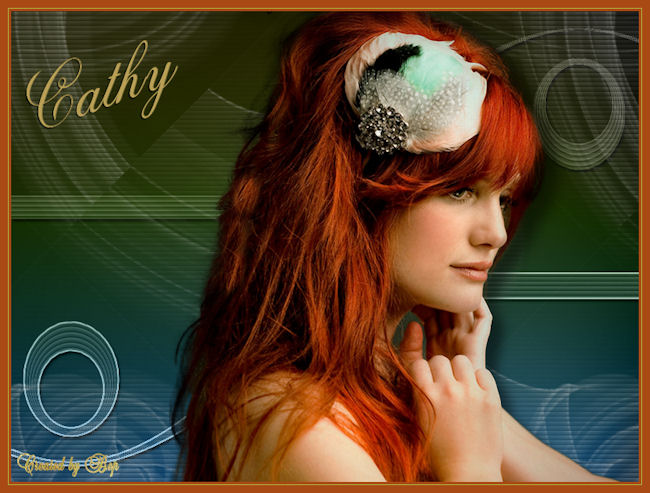
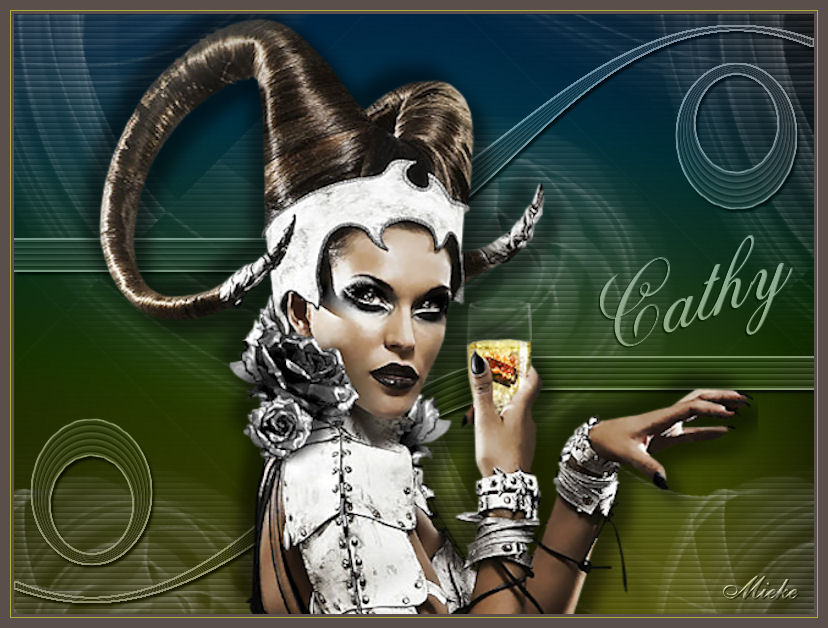
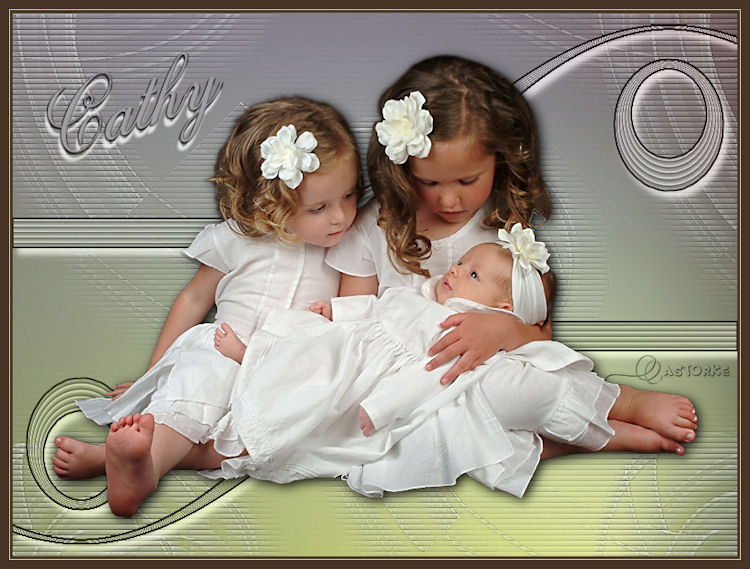
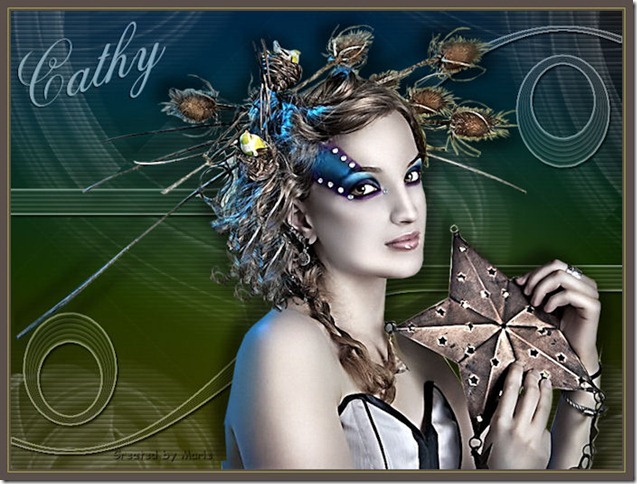
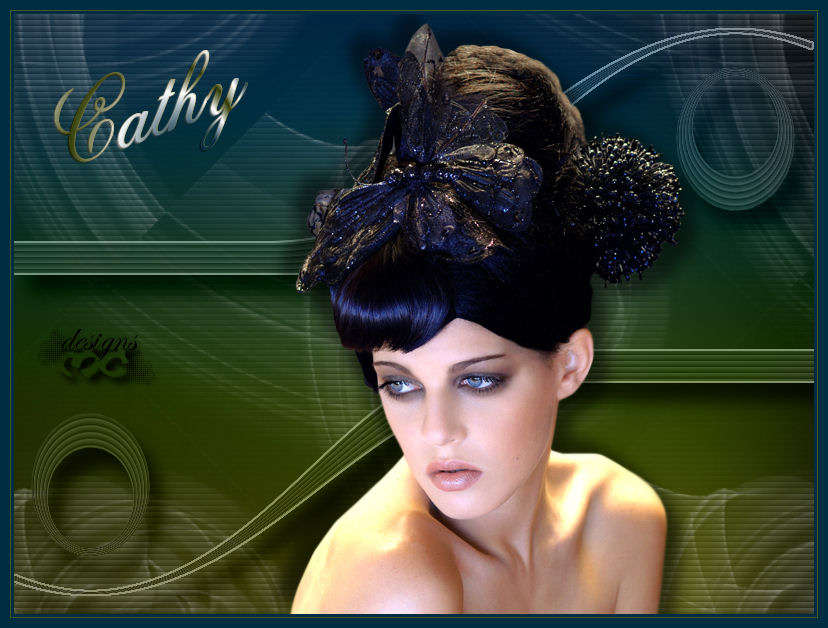
The lessons are registered with TWI.

