Psp Div3_Lesson 253
Translations by Marion into , French, English and German
Translated by Sylviane in Spanish
Translated into Portuguese by Estela
I am grateful for the help of the translators of this site.
Click on the flag for the translation.
This lesson was written by myself
Any resemblance with an existing lesson is a coincidence
This tutorial was made with Corel X 9 but can be done with other versions of
Psp.
Without them, this lesson would not be possible.
Respect their work, don't change anything about the tubes and don't say they
are your tubes
The copyright belongs to the original artist.
Leave credit with the creator.
Material here

Take me with you, I'll show you where you left off.
![]()
- Window / Duplicate
- Close the originals and work with the copies

1.Open the palette from lesson 253

2. Open castorke_les253_alpha channel.
3. (SHIFT + D)
Close the original
4.
We continue to work on the duplicate
5. Flood Fill Tool-Fill the layer with color 3
Tip: for those of you who like other colors,
change the color here !
Play around with blend modes in other layers...
6. Layers- New Raster Layer.
7. Material Properties:
Set your Foreground color to color 1-
--Set your Background color to color 2
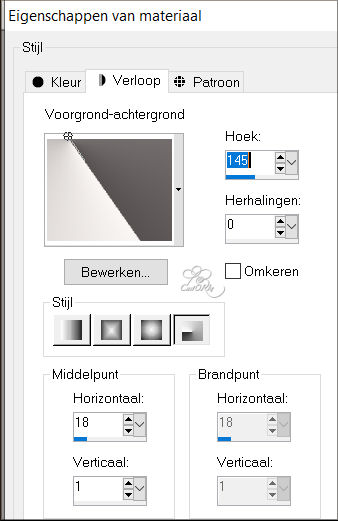
Material Properties: Replace your foreground color with a
foreground/background radial gradient
configured as follows
Flood Fill Tool-Fill the layer with the layer with the gradient
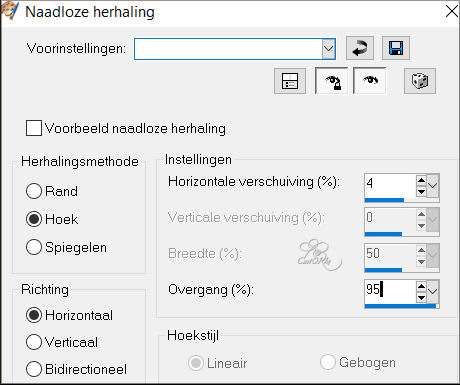
8. Effects- Image Effects- Seamless Tiling use the settings below
9. Layers-Properties- Reduce the opacity of this layer to 50%
10. Layers- Duplicate
11. Image - Mirror - Mirror Horizontal (Image - Mirror in older versions of PSP)
12. Layers-Properties- Opacity of this layer to 100%
13. Layers-Properties-Set the Blend Mode to " Burn "
14. Layers- New Raster Layer.
15. Flood Fill Tool-Fill the layer with color 1
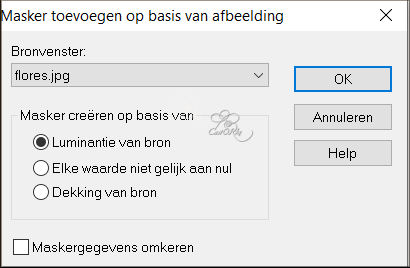
16. Open the Mask : flores and minimize
17. Activate your work
Layers- New Mask Layer- From Image and select Mask :
18. Layers- Merge-Merge Group
19. Effects- Edge Effects- Enhance
20. Image/ Resize 90%
Resize all layers unchecked.
21. Do not move , it is in the right place
22. Layers-Properties- Reduce the opacity of this layer to op 96 %
23. Layers- Duplicate
24. Pick Tool: (K) on your keyboard -Enter these parameters on the toolbar
Position X 418--- Position Y 54
25. Zet Layers-Properties- Reduce the opacity of this layer to op 83 %
26. Layers-Properties-Set the Blend Mode to " Difference"
27. Activate Copy of Raster 2 in the layers palette
28. Selections/Load/Save Selection/Load Selection from Alpha Channel - selection # 1
29. Promote selection to layer
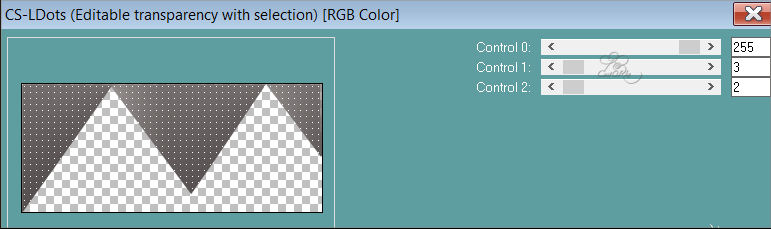
30. Effects- Plugins- Carolaine and Sensibility - CS-LDots
with these settings: 255 - 3 - 2
31. Layers- New Raster Layer.
32. Flood Fill Tool-Fill the selection with color 1
33. Selections- Modify- Contract 5 pixels
34. Press the "Delete" key on your keyboard.
35. Selections -Deselect All
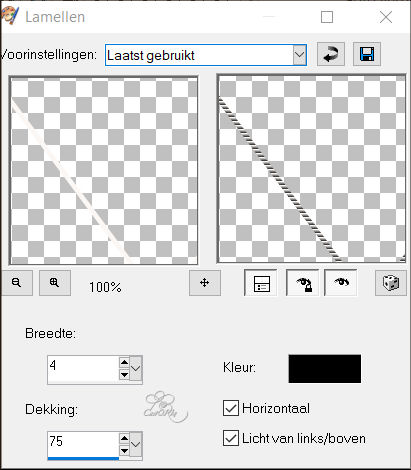
36. Effects- Texture Effects- Blinds use the settings below
4-75,
color 5
37. Activate Copy of Raster 2 in the layers palette
38. Selections/Load/Save Selection/Load Selection from Alpha Channel - selection # 2
39. Promote selection to layer
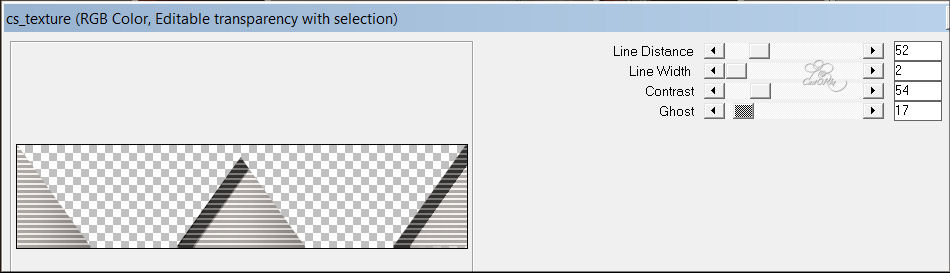
40. Effects- Plugins- Carolaine and Sensibility - CS-texture with these settings:
52-2-54-17
41. Layers-Properties-Set the Blend Mode to " Burn "
42. Effects-3D-Effects-Drop Shadow with these settings: 0, 0, 80, 40 color 5 (black)
43. Selections -Deselect All
If you still want to use a different color, change it to Raster 1.
44. Image - Add Borders-Symmetric checked: 1 Px -color 5
45. Edit- Copy
46. Image - Add Borders-Symmetric checked: 1 Px -color 3
Or the color you chose at the beginning. .
47. Image - Add Borders-Symmetric checked: 1 Px -color 4
48. Image - Add Borders-Symmetric checked: 1 Px -color 5
49. Selections- Select All
50. Image - Add Borders-Symmetric checked: 50 Px -color #ffffff
51. Selections- Invert
52. Edit- Paste into Selection (is still in memory).
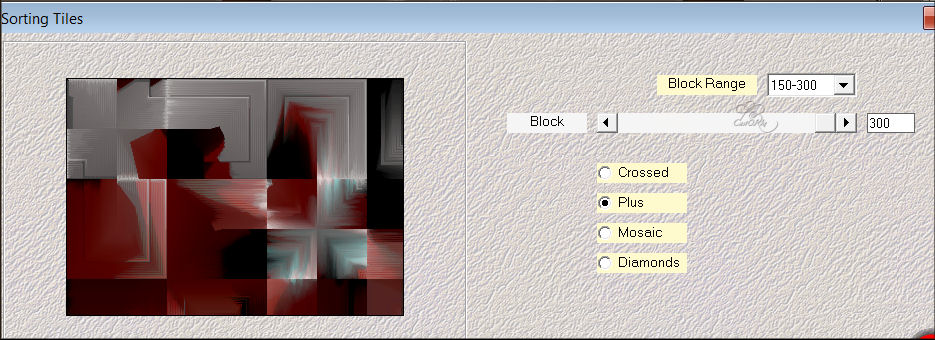
53. Effects- Plugins- Mehdi/ Sorting Tiles 150-300
Block 300 Plus checked
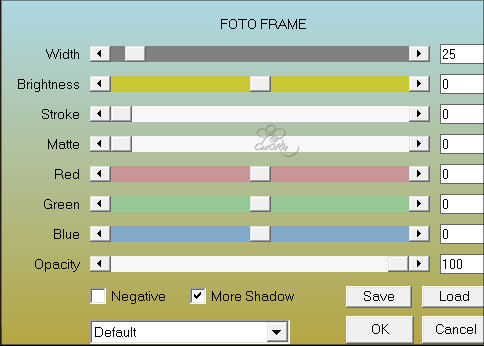
54. Effects- Plugins- AAA Frames/ Foto Frame…
Width 25, More Shadow checked
55. Selections -Deselect All
56. Open K@rine_dreams_Woman_Marmaid_3758_Janvier_2022
57. Edit- Copy
58. Activate your work
59. Edit-Paste as new layer.
60. Image/ Resize 75% and 1 x 85%
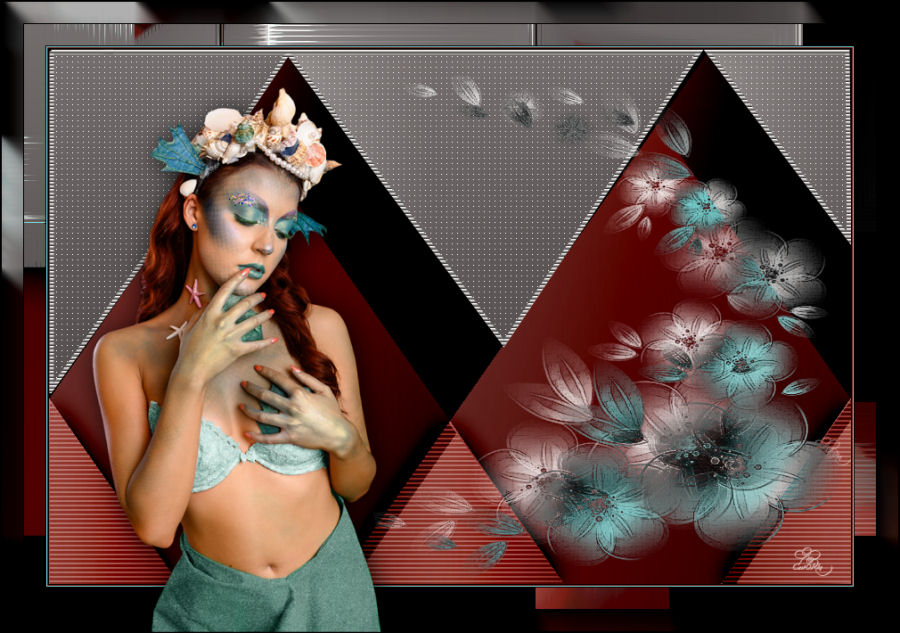
61. Adjust- Sharpness- Sharpen
62. Move down against the edge ( see finished image ).
63. Effects-3D-Effects-Drop Shadow with these settings: 4, 4, 80, 40 color 5
64. Place your name or watermark
65. Image - Add Borders-Symmetric checked: 1 Px -color 5
66. Image/ Resize 900 Pixels.
67. Save as JPG
I hope you enjoyed this lesson
Am curious about your work.
Send it to me in original size.
I'll post it with the other examples.


The lessons are registered with TWI

©Webdesign Diane