Filters are not used in this lesson
Thanks to the tubsters for the beautiful material
Respect their work, don't change anything about the tubes and don't say they are your tubes
Without them, this lesson would not be possible.
The copyright belongs to the original artist. Leave credit with the creator.
Open the tubes in a map of your choice or in the program PSP.
Let's start the lesson
Take me with you, I'll show you where you left off.

1. Open Alpha Channel" les39_alfa."
2. Duplicate the IMAGE ( SHIFT + D ) and close the original.
On this, we will continue to work.
Close the original.
3. Selections- Select All .
4. Open the background image "les39_AG "
5. Edit- Copy
6. Activate your work.
7. Edit - Paste into Selection
8. Selections- Select none
9. Open the Tube " les39_deco1 "
10. Edit- Copy
11. Activate your work.
12. Edit - Paste as new layer .
13. Effects- 3D-Effects-Drop Shadow with these settings: 0, 0, 100, 40 color Black
14. Open the Tube "les39_deco"
15. Edit- Copy
16. Activate your work.
17. Edit - Paste as new layer .
18. Pick Tool: (K) on your keyboard -Enter these parameters on the toolbar
Position X 142 - Position Y 135
19. Open the Tube "Les39_binnenkader."
20. Edit- Copy
21. Activate your work.
22. Edit - Paste as new layer .
23. Pick Tool: (K) on your keyboard -Enter these parameters on the toolbar
Position X 116 - Position Y 90
24. Selections/Load/Save Selection/Load Selection from Alpha Channel - selection 1
25. Effects- 3D-Effects-Drop Shadow with these settings: -10, -10, 60, 0 color WHITE.
26. Repeat: Effects- 3D-Effects-Drop Shadow with these settings: -20, -20, 60, 0 color WHITE.
27. Selections- Select none
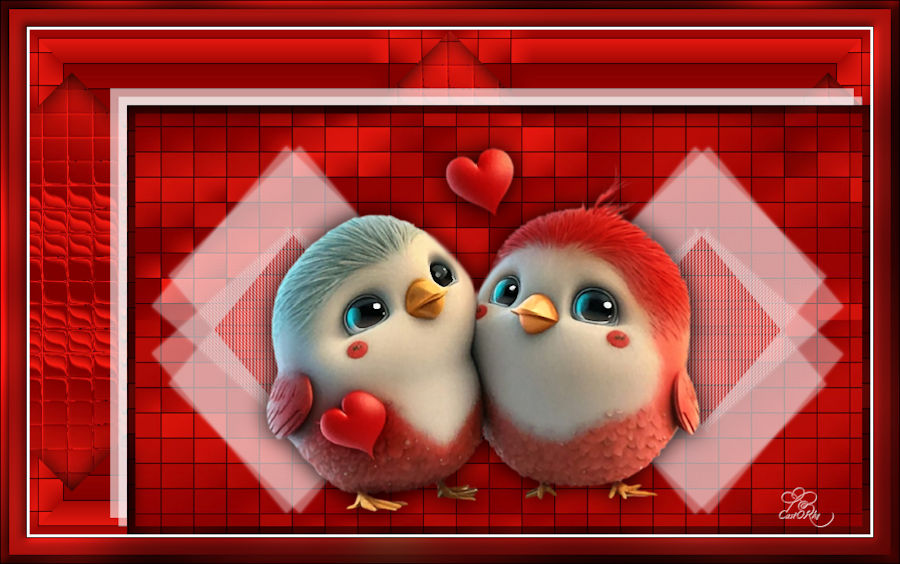
28. Open the Tube "Baby_Birds_love_Silvie_19.02.2023"
29. Effects- 3D-Effects-Drop Shadow with these settings: 0,0, 100, 40 color Black
30. Edit- Copy Special- Copy Merged
31. Open the Tube "les39_kader."
32. ( SHIFT + D ) and close the original.
33. With your Magic Wand -Tolerance-Feather
0
Click in the middle of the transparent part
34. Edit - Paste into Selection
35. Selections- Select none
36. Image- Resize 900 Pixels Width-Resize all layers checked .
37. Add you watermark on new layer..
38. Save as JPG
I hope you enjoyed this lesson
Am curious about your work. Please send it to me in original size.
Please post it below as an example. Please do include your name and the lesson number and title.
I'll post it with the other works
HEREGood luck !
Questions related to the lesson ? Or submit the lesson?
Mail meGreetings Castorke